Have you had problems connecting your nokia phone running the symbian os to the eduroam network?
I remember trying to connect my nokia e63 to the eduroam network and struggling with it for days, there was a very detailed manual on how to set up the symbian os for the eduroam network and at one glance it seemed fairly easy.
I remember trying to connect my nokia e63 to the eduroam network and struggling with it for days, there was a very detailed manual on how to set up the symbian os for the eduroam network and at one glance it seemed fairly easy.
However, it was a big headache getting it to work. I tried in vain a number of times and I knew something was missing. I will try to list the steps below on how to get connected. In my case I found that it was the AddTrust certificate that was missing, the trick is to get the correct certificate and upload it to your phone and get your phone to accept it.
First, update your phone software to the latest version and that should include all the certificates you need, if the relevant certificate is missing you will have to find, download and manually load that on to your phone.
Connect your symbian phone to your computer and update it using the nokia ovi suite or pc suite whichever version you are using. A note of caution here, make sure your phone is fully charged before you do this.
After this is done follow the instructions on the eduroam setup page of your university, these instructions are mostly the same, in case you need to go through them again, I am listing the instructions here, please check if there is any difference with your university's instruction page.
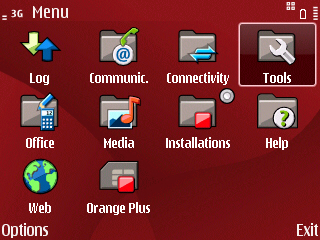
Go to your phone menu
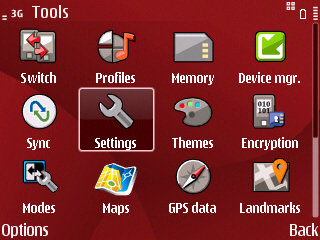
- open tools
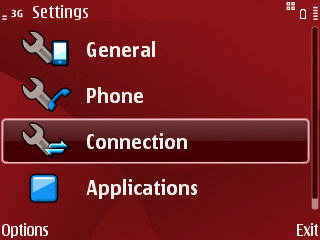
- go to settings
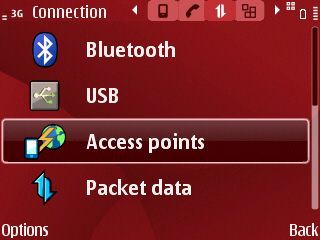
- go to connection
- open access points
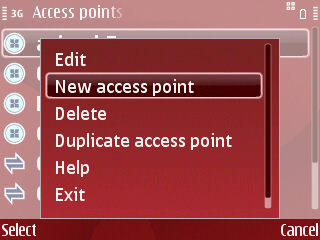
- click on options and open 'new access point'
- change 'connection name' to Eduroam
- change 'data bearer' to wireless lan
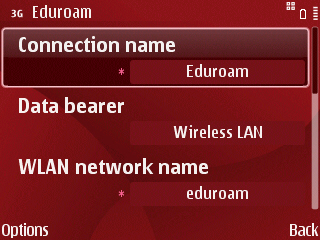
- change 'access point' name to eduroam
- change the 'WLAN network name' to eduroam
- Set the 'Network status' to Public
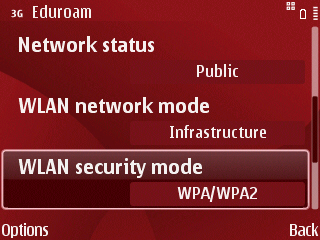
- Set the 'WLAN network mode' to Infrastructure
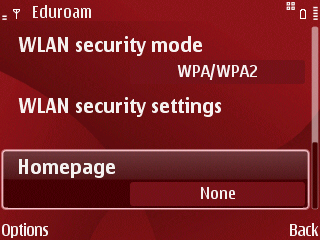
- Set the 'WLAN security mode' to WPA/WPA2
- Select 'WLAN security settings' to open the next menu
- Set 'WPA/WPA2' to EAP .Set the 'WPA2 only mode' to off
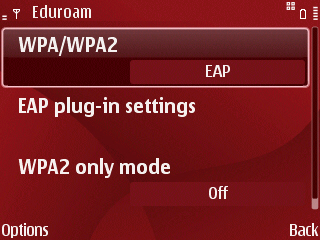
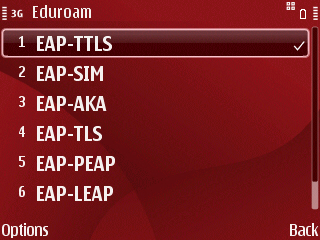
- Select 'EAP plug-in settings' to open the next menu
- Using the 'Options' menu, disable all the EAP types except EAP-TTLS (so that only EAP-TTLS has a tick next to it.Select 'EAP-TTLS'
- open the 'Options' menu, and choose 'Configure'
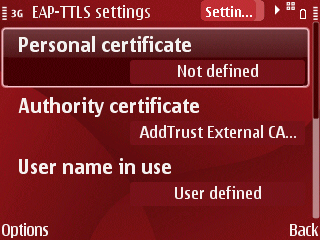
- In the 'EAP-TTLS' screen, on the 'General' tab:
- Leave 'User or Personal certificate' as not defined
- Select 'CA certificate', and choose AddTrust Global Root (it was at this point that I found out that I did not have the AddTrust Global Root certificate, if this is the case with your phone you will have to download the certificate from the link given at the bottom of this post or here and here and add it to your list of certificates)
- Set 'User name in use' to User-configured or user defined
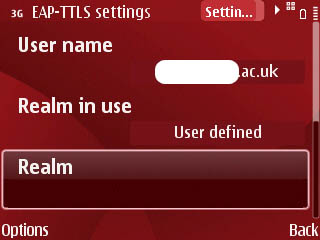
- Set 'User name' to to your username in the following format: yourname@abcd.ac.uk or yourname@admin.abcd.ac.uk (replace abcd with your university's address)
- Set 'Realm in use' to User-configured or User defined
- Leave 'Realm' blank
- Change to the 'EAP' tab, by moving right
- In the 'EAP-TTLS' screen, on the 'EAP' tab:
- Using the 'Options' menu, disable all the EAP inner types except MSCHAPv2 (so that only MSCHAPv2 has a tick next to it
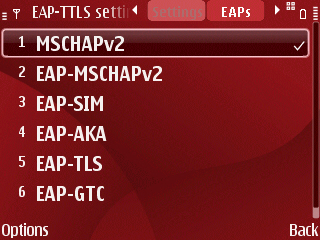
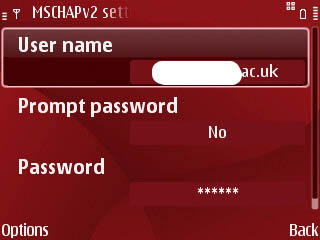
- Select 'MSCHAPv2', open the 'Options' menu, and choose 'Configure'
- Set 'User name' to your university username with @abcd.ac.uk appended, e.g yourname@universityname.ac.uk
- Set 'Prompt password' to No
- Set 'Password' to your normal ISS password (remember, it is case sensitive)
- Press the 'Back' button
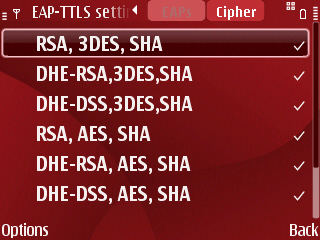
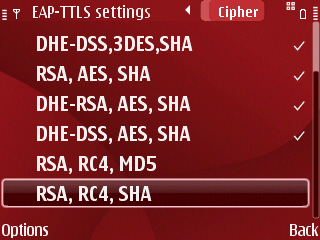
- In the 'Cipher' tab you can leave everything at the default settings
- Now press the 'Back' button as many times as is needed to return to the main menu
- Open up the 'Web' browser application, and try to visit a web page such as google.com
- When prompted to 'Select access point', choose eduroam from the list. The device should connect, and then the web page should load!
Download the certificate file in .cer format from here and in .crt format from here these links will take you to my skydrive and you can download using the download button on the right. Alternatively you can download the .cer file from fileden here
you can use your computer or phone to download the files. If you are using your computer you will have to transfer the files from the computer to the phone memory and click/open the file to load it to the list of certificates.
you can use your computer or phone to download the files. If you are using your computer you will have to transfer the files from the computer to the phone memory and click/open the file to load it to the list of certificates.
The screenshots were from my Nokia e63 phone, I hope you are able to connect now, if you are still having problems, you can list the details of the connection problems you are having in the comments section below and I will try to work out a solution.
My next effort is to connect the kindle to the eduroam network :)


