I finally decided to get another phone after having used my faithful Nokia E63 for the past 6 years as my primary phone. I have been procuring, testing and troubleshooting other phones like the Iphone 4, 4s and 5 as well as different brands running android, for friends and family. I have stubbornly ignored the idea of buying a new phone, for the simple reason that my phone is in good working order, is trouble free and does 'most' of what I want from it. The keyboard is great, it fetches my emails, I can use whatsapp to send pictures and messages with other contacts, and it of course can make calls and send sms, it also has a great battery life and I drop it or it slips out of my hand, at least 2 to 3 times a day on an average, even serious drops to the floor that sent the back cover and battery flying have not managed to do much damage. I have also forgotten it inside my jeans pocket when I put my pair of jeans in the washer, but luckily could pull it out before serious damage was done, after a day of drying in the sun in disassembled state, it has soldiered on.
However, in spite of the many good things about this phone some of the not so good parts is the lack of a good camera, lack of GPS and the general lack of good apps. Nobody is writing any new apps for this platform anymore (that whatsapp is still being supported in this model is a wonder).
I really felt the need for a decent camera on my mobile, on a day when I saw a girl child not more than 7 to 8 years performing on a tightrope in an Indian street, when I was not carrying my camera with me. The matter of fact look on her face, coupled with the knowledge that she was putting herself in mortal danger, while she was doing a tightrope walk roughly three metres above the ground without any safety measures to talk of except for the guy who I assume was her father waiting down to catch her if she falls, was something that still haunts me today. In addition to doing the tightrope walk she was performing a balancing act with some cups and saucers which she most definitely cannot even think of dropping. It was very moving to see someone so young making a living in such a dangerous way and maybe if I had a better camera on my phone I could have shown you how bad it is. The lack of GPS support and maps is also a big disadvantage when travelling and it is something that has been bugging me for quite sometime since googlemaps has made its appearance on smartphones, added to that, the small screen is becoming a bit too cramped when reading newspapers or magazines not to talk about watching the occasional youtube clip. Although, I should add, I have never had a problem sending short emails with the excellent keyboard.
Having decided to go for a new phone the choice before me was mindboggling in terms of brands, handsets and operating systems. Since, my wife already has an Iphone 5 I have had the opportunity to check out IOS in operation, The Iphone build quality and IOS combination is very impressive but its not really what I need. I decided to get an android device which would be way cheaper and would also give me the option to root and customize. I did not consider the Nokia/windows option mainly because I have been living with Nokia for more than 10 years now and I basically just want a change. I narrowed my choice down to Samsung as it seems to have the maximum number of offerings in the market, decent after sales support and relatively cheap prices, price being a major concern for me as I don't believe in spending too much money on a phone anyway.
To cut a long story short I got a Samsung Galaxy S Duos 2 or the S7582 which seemed like a pretty decent model running a dual core processor with 768 MB of ram, 4 Gb internal storage, micro SD card option a decent 4"+ screen and decent enough looks. The downside of this phone is that it does not allow you to install apps directly on the micro SD card and all apps are by default installed on the internal memory, so if you want to install games on your phone this is not the phone for you. I don't play games so its not a deal breaker for me. I got it online for about $ 145 and the build quality and responsiveness is good enough. I am not going to review the phone's working right now as there are already a ton of reviews about this phone. I will however, start documenting the basic stuff that is needed when getting a new phone.
The first thing I had to do was to move my contacts from my old Nokia E63 to my new Samsung running android. After a bit of fiddling around I found there are different ways of doing this, one is to use the nokia suite software on the PC connected to the phone to import the contacts. After selecting all the contacts it will give me the option to convert all the contacts to .vcf files to be stored in a folder of my choice. One thing to be aware of is that all the contacts will be registered in individual .vcf files so if there are 500 contacts there will be 500 .vcf files that will be created in the chosen folder. These files can then be transferred to the android phone's internal storage or micro SD card and copied to the android device from there. This can be done by batch importing everything.
Another option is to copy the phone contacts from the Nokia to the external micro SD installed on the nokia, followed by copying these to the new android device
The simplest way to transfer contacts from the Nokia E63 (I'm assuming this will work for other Nokia models like E71 and others) to an android phone would thus be
> Open contacts in the Nokia phone
> Options > Mark/Unmark
> Mark all
> Copy
> To memory card
The contacts will be copied and if contacts are already stored in the memory card it confirms before replacing those. I just went ahead and allowed it to replace the files. I had around 594 contacts(some of those I have no idea who they are). When its done
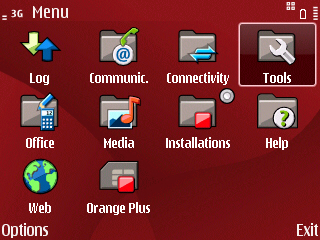
> Go to menu
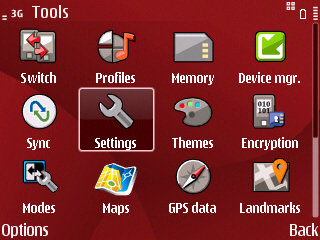
> Office
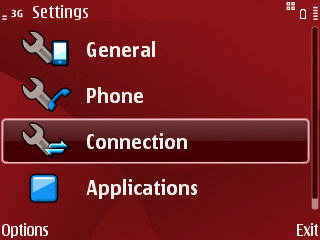
> File manager
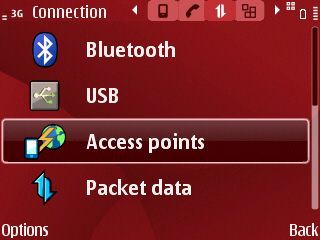
> Switch to memory card
> Go to folder named 'Other'
> Open 'Contacts' verify that .vcf files are there.
Take out memory card from the Nokia phone and insert it in the android phone
> In android tap on contacts which should be available on the bottom line of the home screen
> Tap on menu icon next to and on the left of the home button to get the options
> Tap on Import/Export
> Tap on Import from SD card
> Import all vcard files
> Save contacts to device
You're good to go, all your contacts are in your android phone now.
I will be documenting my experience with this phone in future posts.